How To Get Started - Teacher Classroom Edition
Welcome to Reading.com Teacher Edition!
We’re thrilled to have you join us on this exciting journey to inspire a lifelong love of reading in your students.
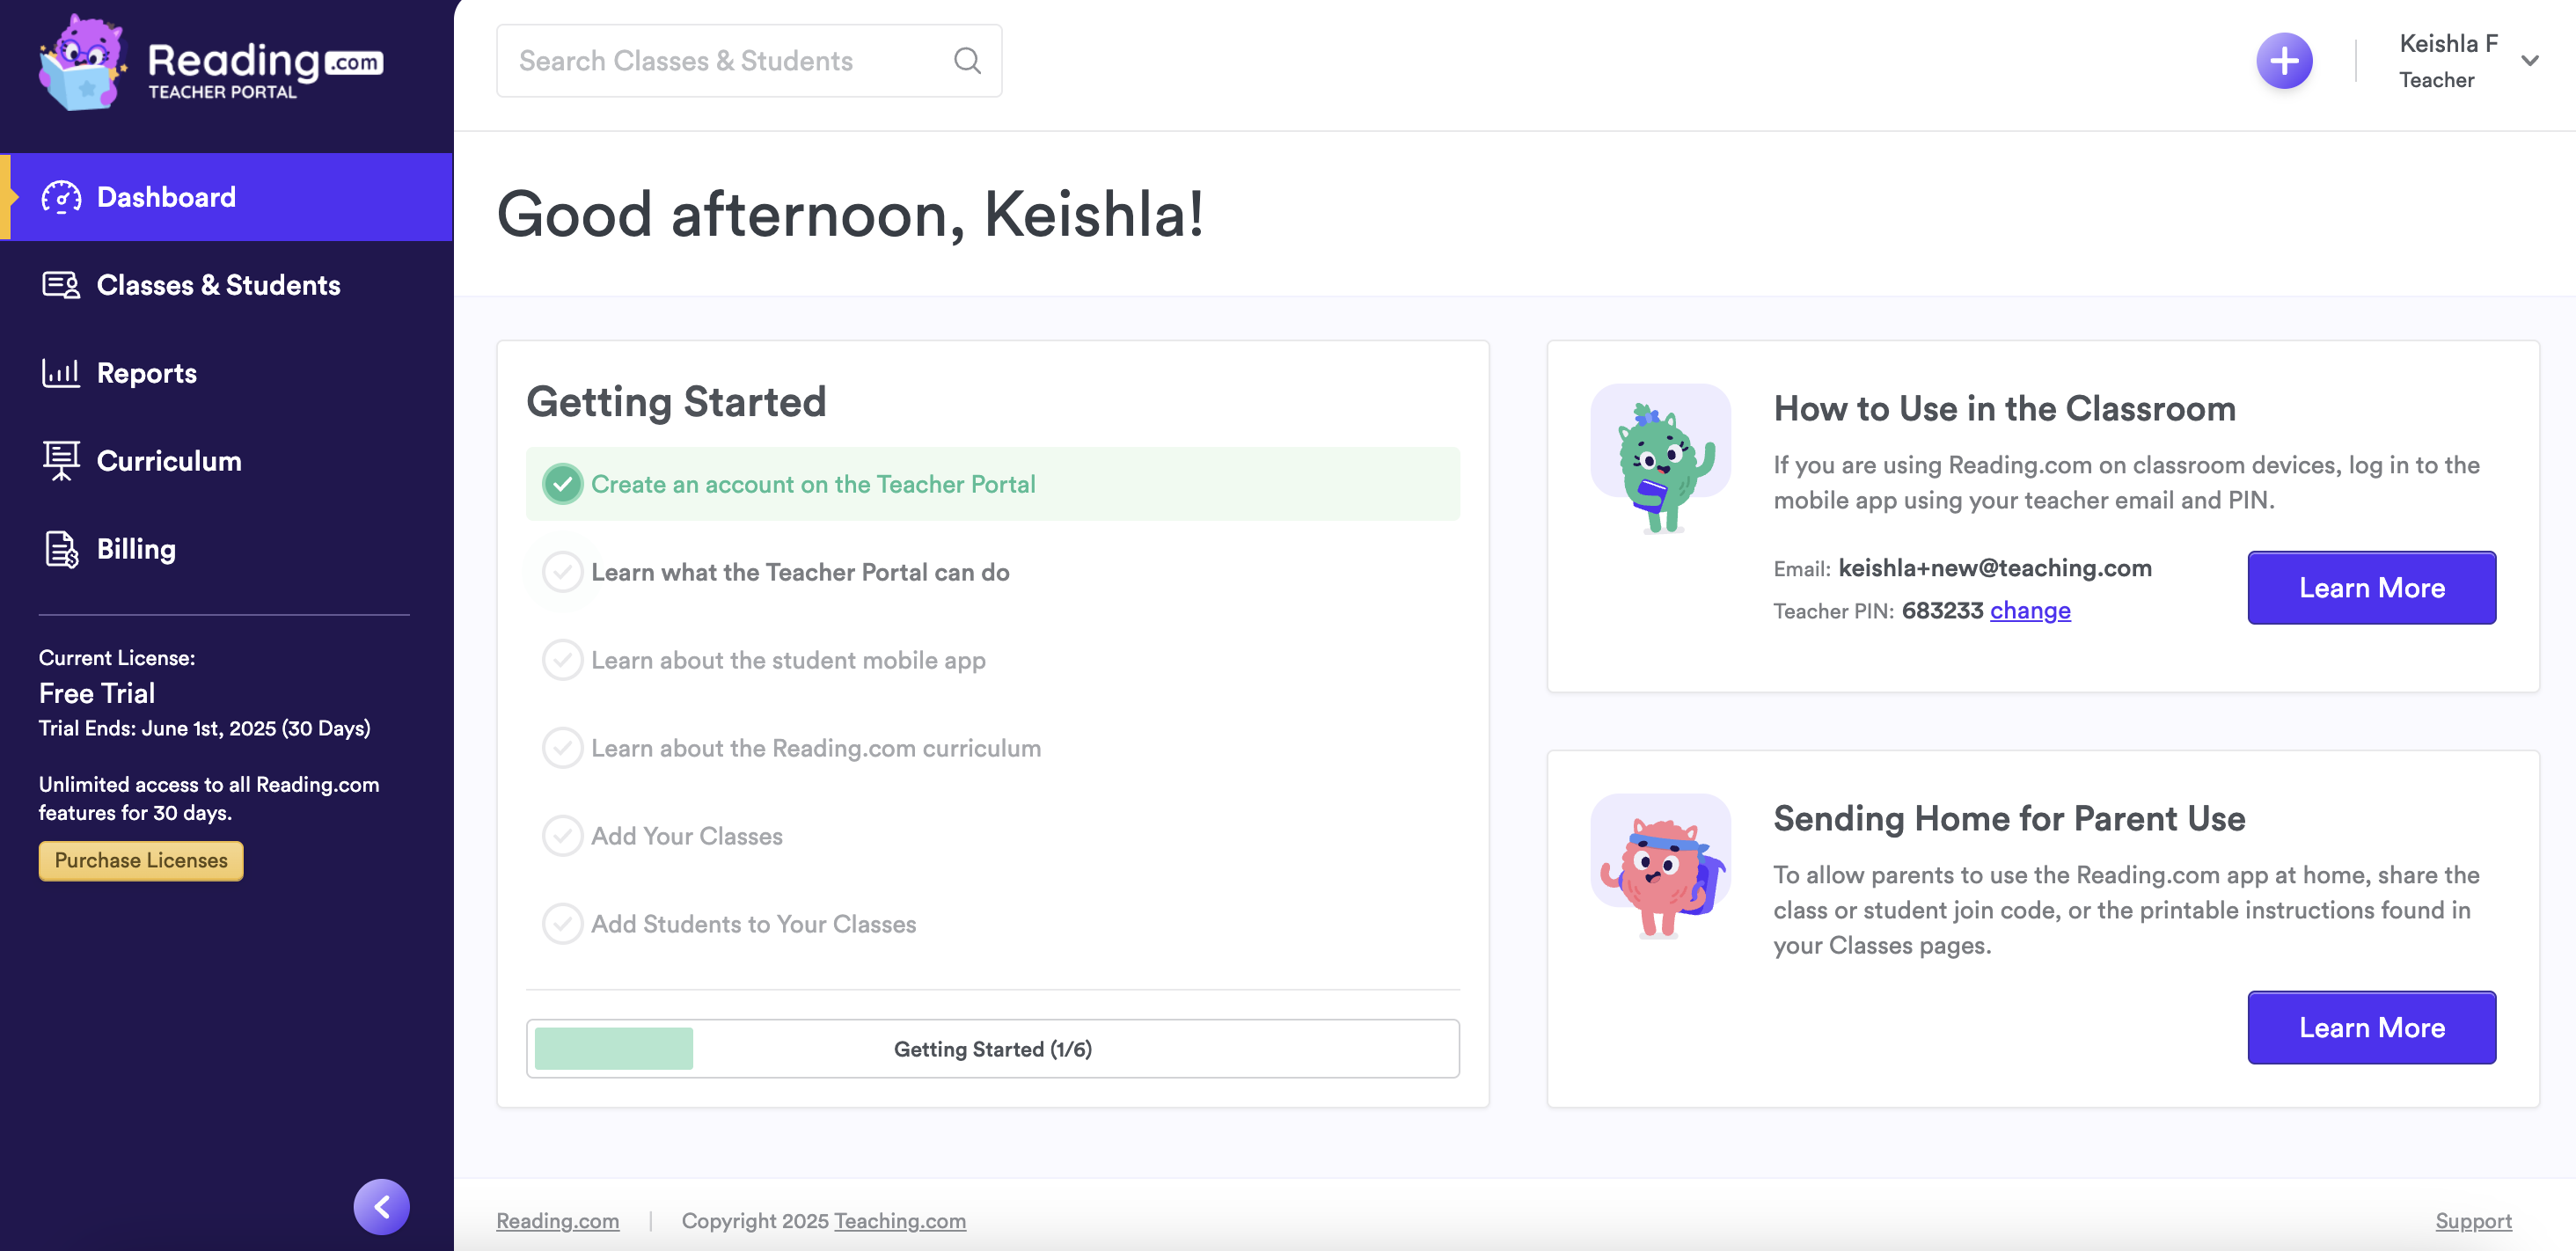
When you first log in, you’ll see a quick welcome message introducing you to two important parts of Reading.com:
- Teacher Portal — where you manage classes and track student progress
- Reading.com App — where all the student learning and lessons take place

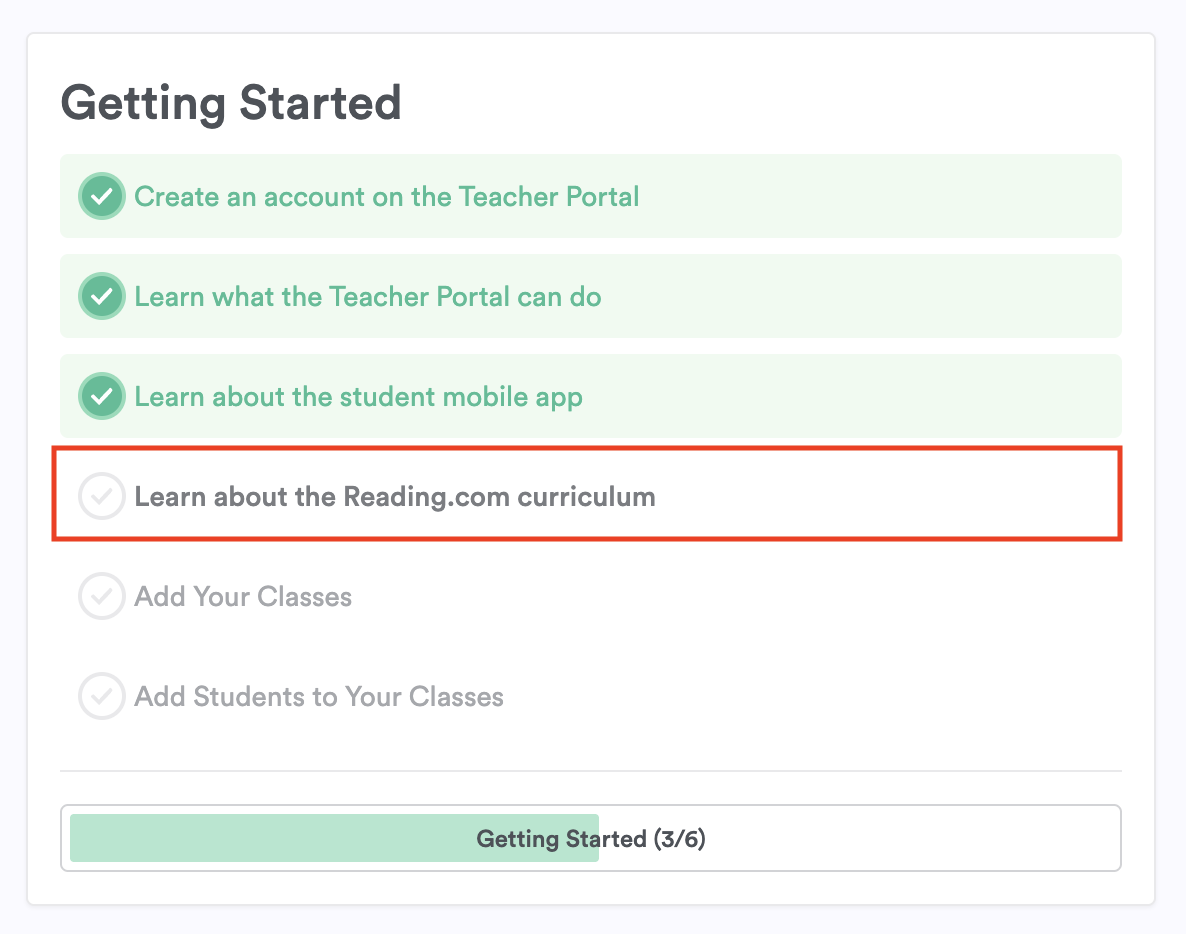
Getting Started: Your To-Do Checklist
Getting started is quick and easy! Your Teacher Portal will guide you with a simple checklist.
Step 1: Sign Up and Create Your Account
Click HERE to sign up for your free trial of the Teacher Edition.
Once you sign up, you'll automatically receive a 30-day free trial for up to 3 students.
Already have an account? Log in here to continue setting up your classroom.
Note: Your 6-digit PIN will be automatically assigned—you’ll use it when logging into the app.
Pro Tip: Bookmark the Teacher Portal login page for easy access later.
Step 2: Learn What the Teacher Portal Can Do
Watch a short 1.5-minute video overview to see how to manage classes, track student progress, and stay organized.

Highly recommended: Taking just a minute to watch will answer many early questions.
Step 3: Learn About the Student Mobile App

Watch a short video (under three minutes) that shows what students will experience using the Reading.com app.

Step 4: Learn About the Reading.com Curriculum
Take a quick look at how Reading.com builds foundational reading skills, step-by-step.
Reminder: Please don't skip these short training steps—they’ll make everything smoother later!
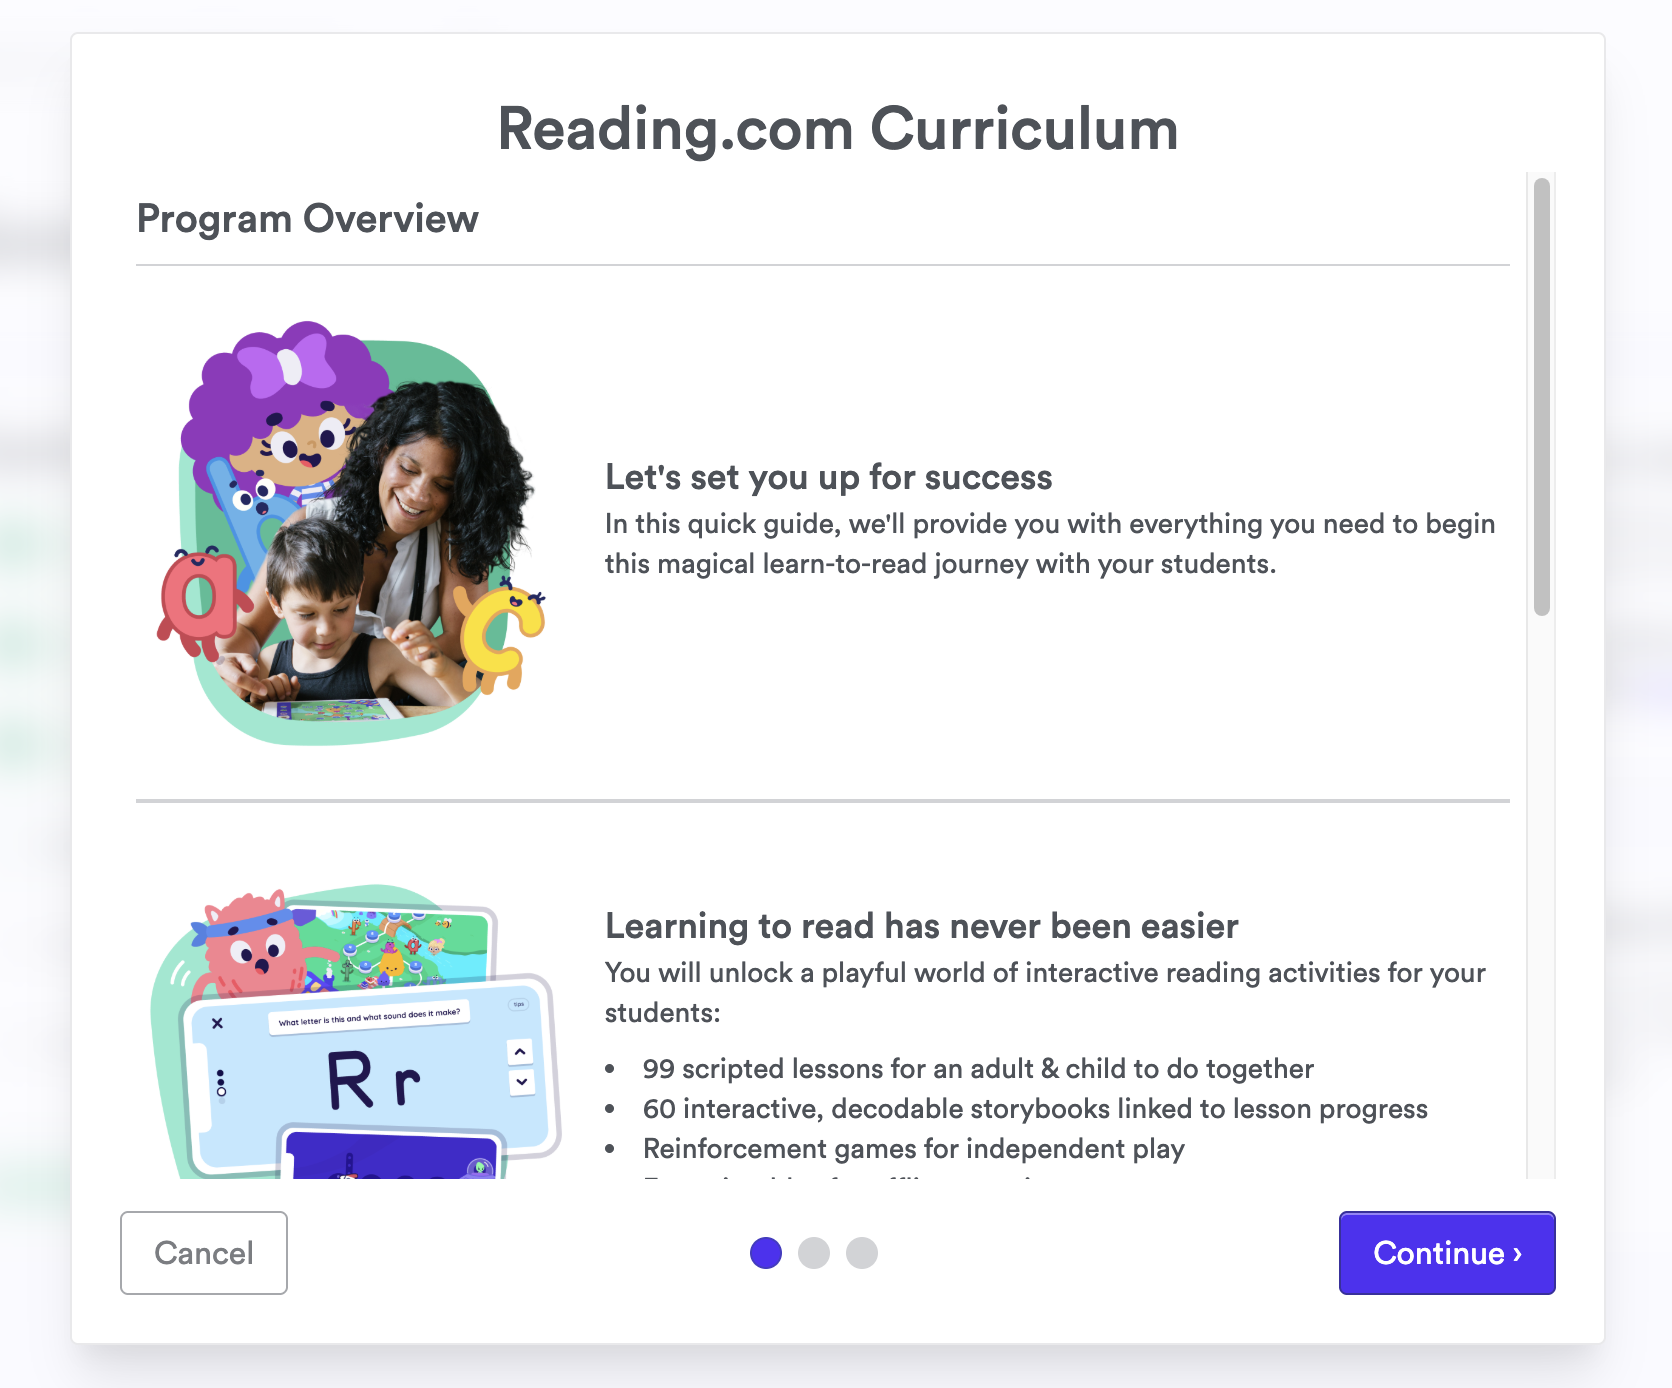
Click HERE to learn how to access the curriculum and additional resources.
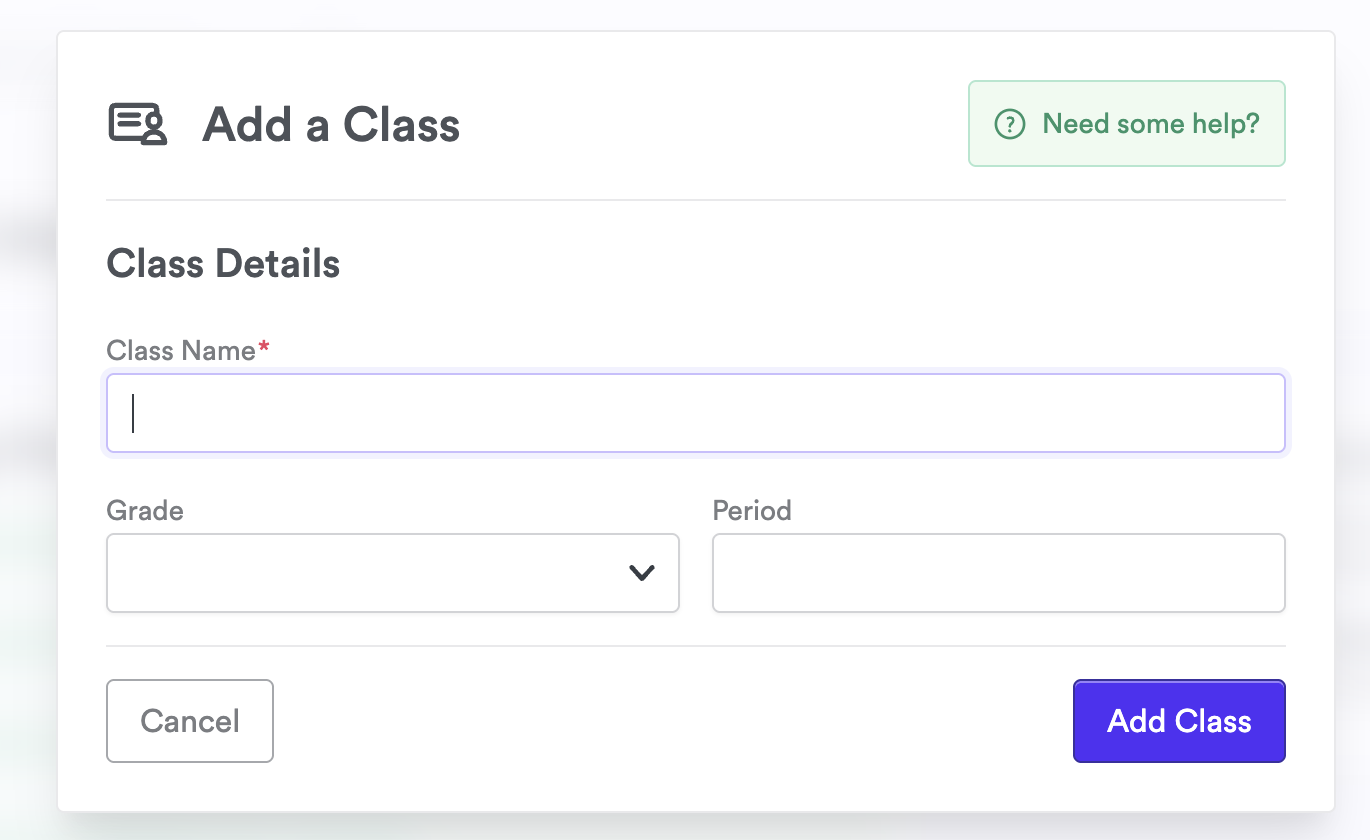
Step 5: Add Your Classes
From your checklist or dashboard, click Add Class and enter your class details (name, grade, and period).

For further instructions, refer to THIS article.
Step 6: Add Students to Your Classes
Add each student's first name (and last initial if needed) to create their profile.

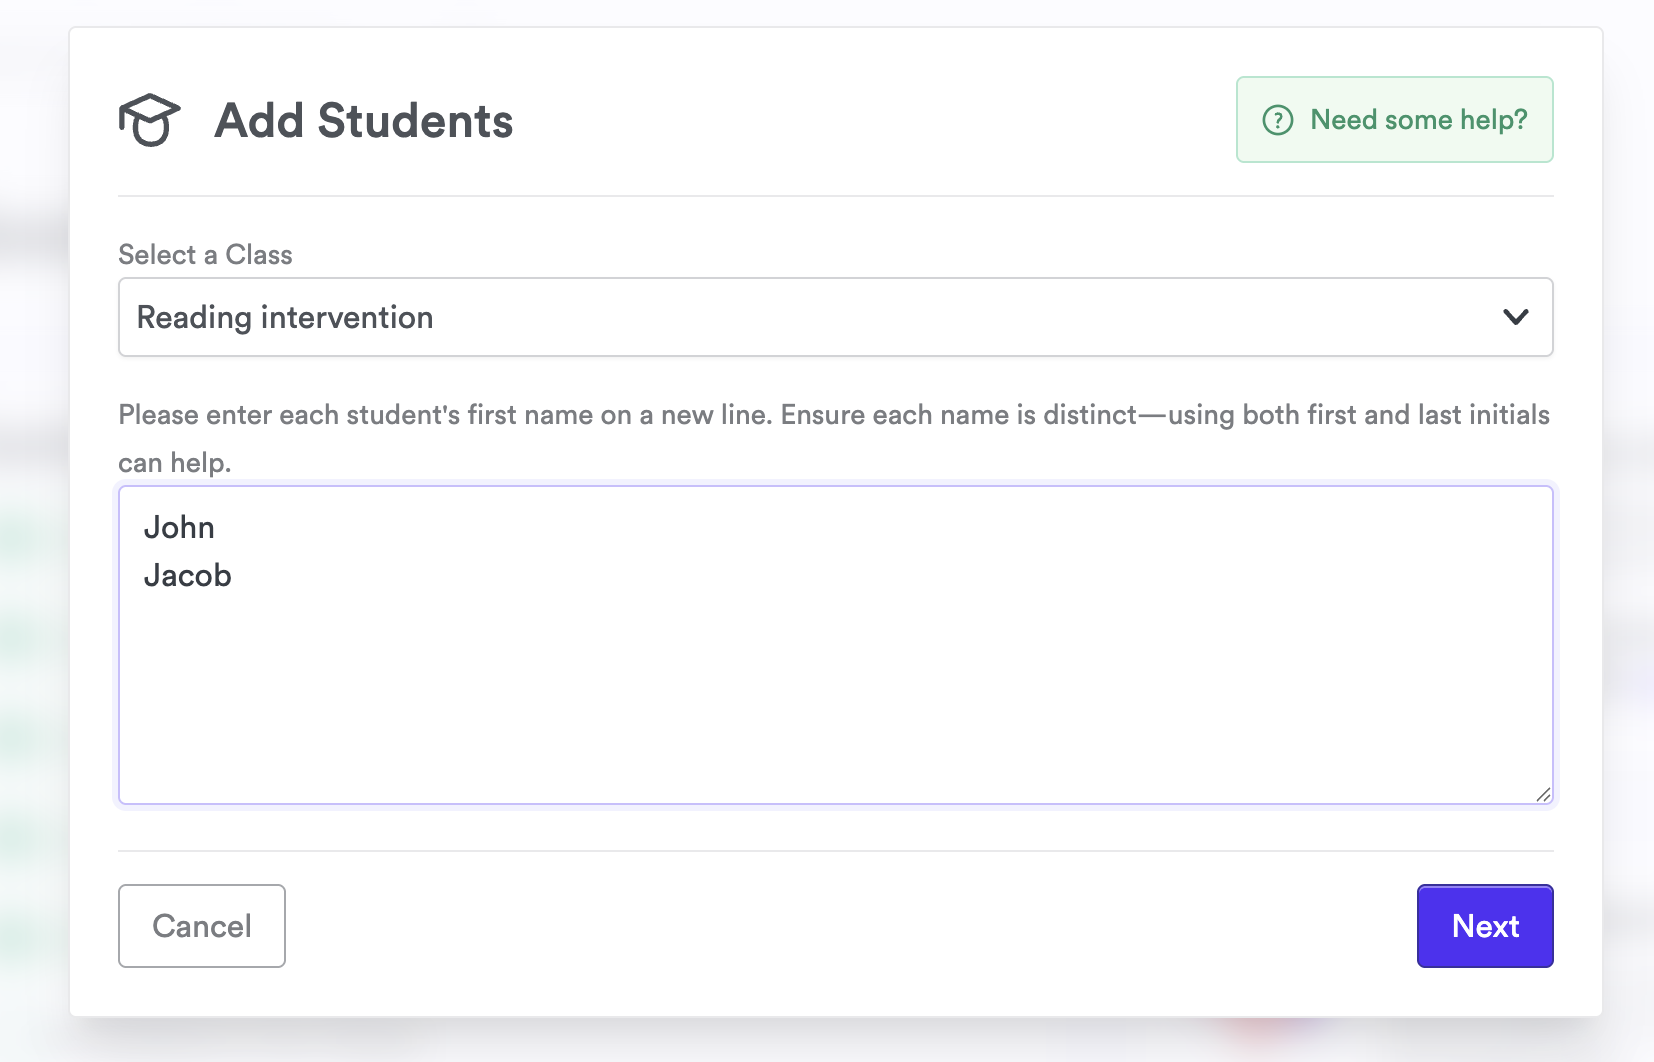
We also have THIS article with step-by-step instructions on how to add students.
Getting Your Students Started
Once you’ve completed your checklist, it’s time to get your students learning!
Steps to follow:
-
Assign each student a tablet or mobile device (Apple, Android, or Amazon Fire).
Download the Reading.com app onto each device.
- Note: Reading.com lessons are available only through the app, not the web browser.
- Log into the app using your teacher email and assigned 6-digit PIN. Here is a guide to get you to the next step.
- Activate each student’s profile on their assigned device. Click here to walk you through the process.
- Students are ready to begin their first lesson!
We’re here to support you every step of the way.
If you have any questions, visit support.reading.com or reach out directly through your Teacher Portal. We can’t wait to see the amazing progress your students will make with Reading.com!