Move a Student to Another Class
As teachers, managing student rosters efficiently is essential for ensuring smooth classroom operations and personalized learning experiences. Sometimes, you may need to transfer a student from one class to another within your Teacher Portal. Follow these simple steps to seamlessly move students between classes and maintain organizational clarity in your teaching journey.
Step 1: Log in to your Teacher Portal here and enter your login credentials to access your account.
Step 2: Once logged in, locate and click on the "Classes & Students" section to view a list of the classes you are currently managing.

Step 3: Identify the class that contains the student(s) you wish to move. Hover your mouse over the class name, and it will highlight in purple, indicating the selection to click on.

Step 4: Within the selected class, you can choose individual students or multiple students to move. Check the white checkbox to the left of each student's "First Name." To select all students, check the box to the left of "Student" below the "Bulk Actions" button.

Step 5: Once you've selected the student(s), click on the "Bulk Actions" button and choose "Move Students" from the dropdown menu.

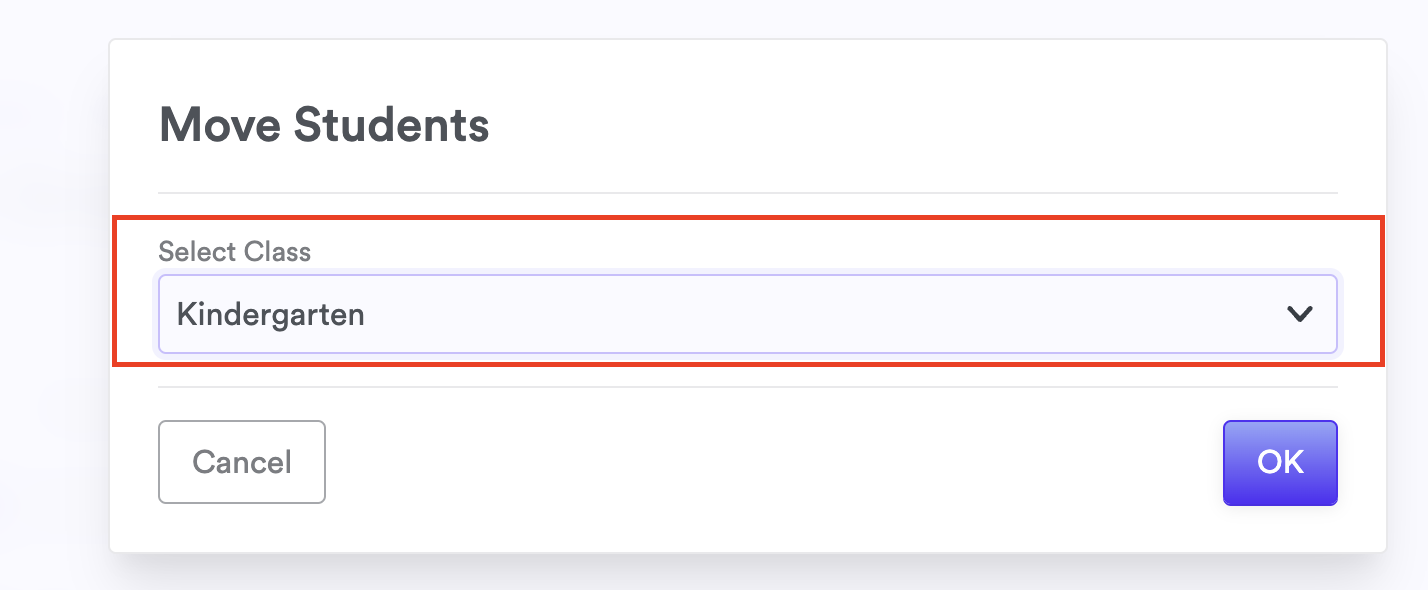
Step 6: A new window will appear, allowing you to select the class to which you want to move the student(s). Choose the appropriate class from the dropdown menu and click "OK" to confirm the move.
Congratulations! You've successfully moved the selected student(s) to another class within your Teacher Portal. With this simple process, you can ensure that students are placed in the most suitable learning environments to support their academic journey. Should you encounter any challenges or have questions along the way, our support team is here to assist you.